Hitting and kicking the heavy bag are great exercises, and heavy bag work is a core component of some martial arts, such as boxing, muay Thai, and MMA.
Heavy bags come in a variety of shapes and sizes, from the small canvas boxing bags like this one:
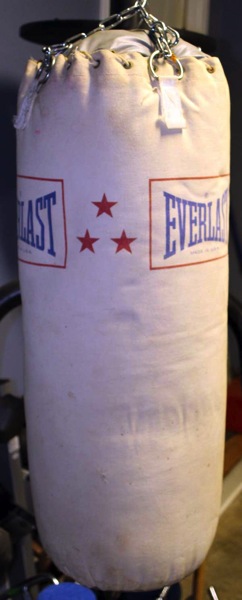
to freestanding training bags like this one,
to the more realistic “B.O.B.” Body Opponent Bag:
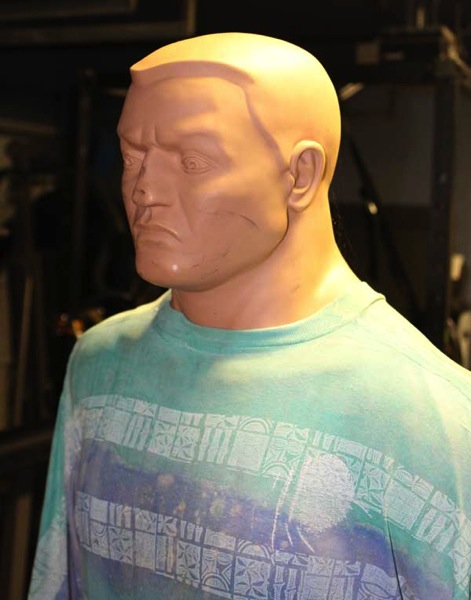
By the way, it can sometimes be a little creepy for the uninitiated to encounter BOB in a room, especially if they’ve seen the first episode of Season 1 of Dr. Who, where plastic mannequins come to life:
I don’t know if he’d seen Dr. Who or not, but one time the furnace guy was in the basement working and he turned around, spotting BOB sitting there—it about scared the nuts and bolts off the poor guy.
Anyway, not knowing any better, I had bought a heavy bag from a local “sports” store, but after working with it for a bit the bag soon became unusable. After some research, I found out that they sometimes stick plastic packets of sand in the cheaper bags to make the bags artificially heavy:
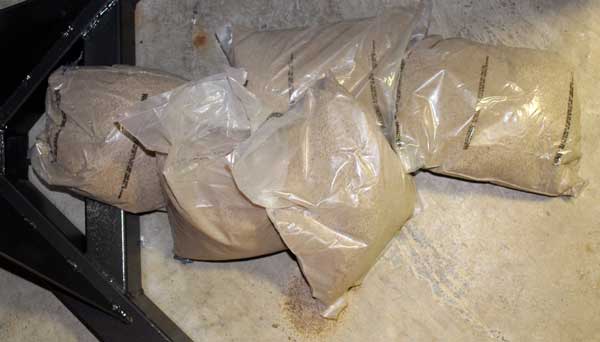
Over time, these bags of sand settle to the bottom of the bag and sometimes burst, rendering spots of the bag feeling as hard as a brick.
I decided to buy an unfilled bag, so that I could fill the bag as I wanted.
There are options, but I chose this bag:
Muay Thai 6ft Heavy Bag – Unfilled for Muay Thai, MMA, Kickboxing, Boxing.
This is a full-size bag, supporting MMA and muay Thai strikes and kicks.
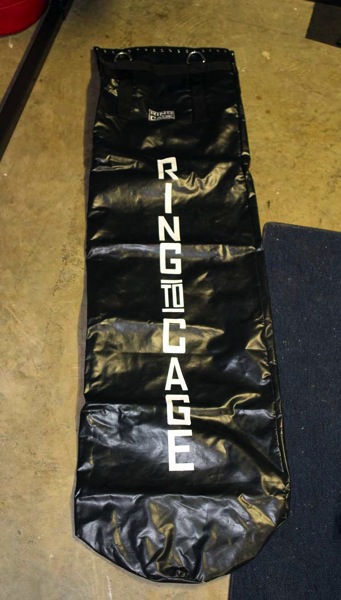
Here’s the bag and hanging chain that arrived in the mail:
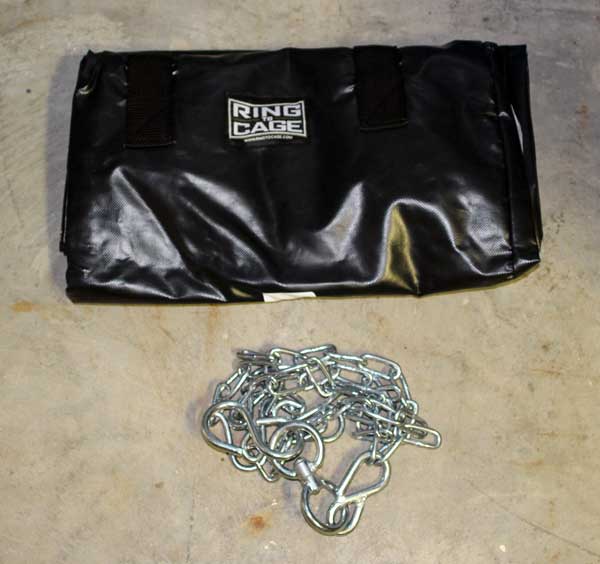
To begin the process of filling the bag, first I unrolled it:
Then, I began to cut up a stack of old t-shirts and other clothes into small pieces:
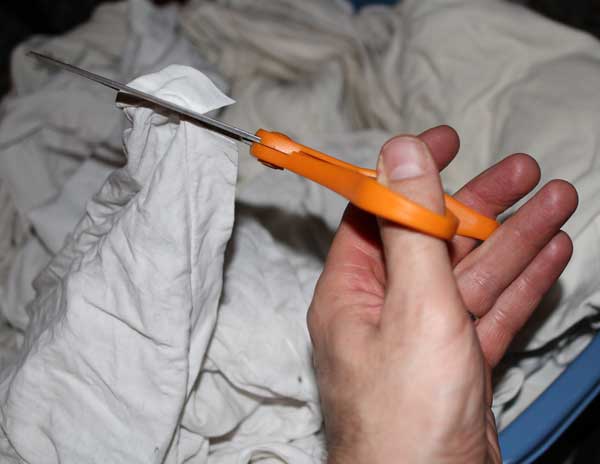
I would suggest you use clean cotton material, free of buttons, zippers, and other sharp items that could puncture the bag over time. Also, you don’t want to use any organic material that will rot. And be aware that you will need a lot of material to fill your bag, so maybe consider visiting a local Goodwill or other charity for clothes they can’t sell.
You want to cut the material into small pieces so that it packs densely and evenly in the bag.
Another suggestion: this cutting the material and filling the bag is a long process, especially if you have a full-size bag, so you might want to invite over some friends to help:

To pass the time, put on a series to watch—maybe something like Battlestar Galactica:
Stay the course, even if your friends aren’t as productive as they could be:
 .
.
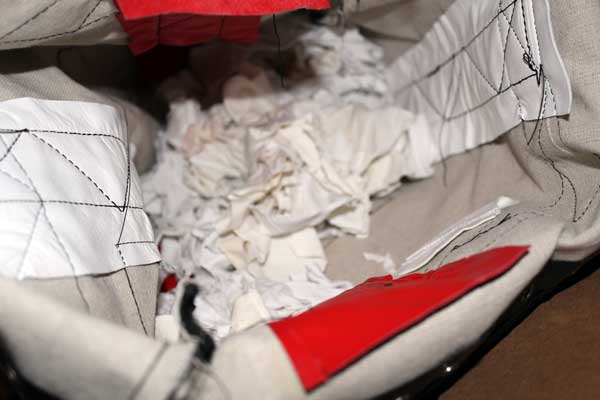
As you cut the material into small pieces, put them into the bag:
 .
.
I would suggest that you roll back the top of the bag, turning it inside out, so that you can easily reach the bottom of the bag with your arm. As you put batches of cut material into the bag, pack it down with your hand, especially pressing the material down along the edges of the bag.
Keep cutting:
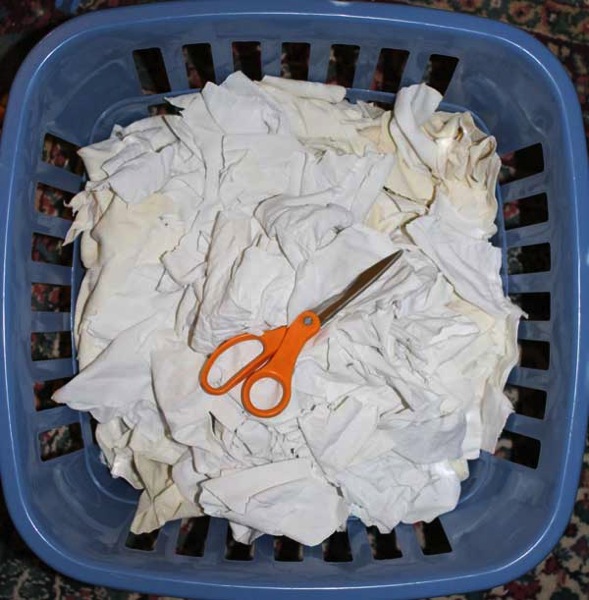
After a while of cutting and packing, you’ll start to see progress:
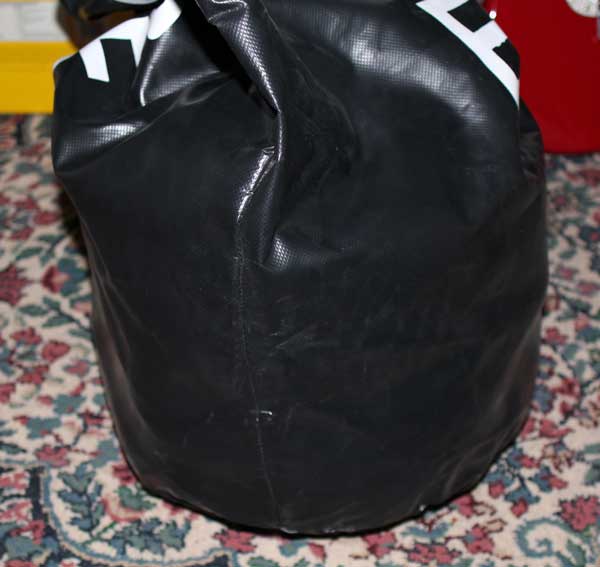
Keep cutting and packing. After a long while, the bag will be able to stand up by itself—here’s about the halfway point:
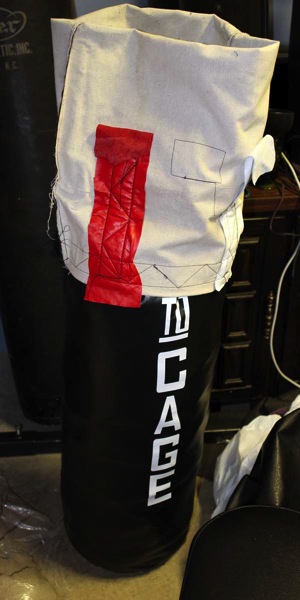
As you fill the bag, be sure to raise the part you had previously turned inside out:
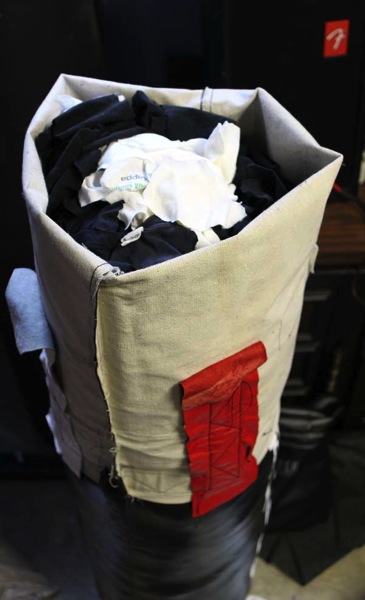
Pro tip: especially make sure that no cats get into the bag. This will avoid later difficulties.
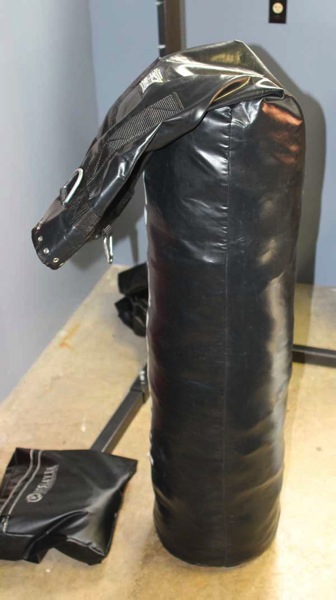
After filling about 75% of the bag, I completely unrolled the outer shell:
As a cultual note—some of you might be old enough to note the significance—it was about at this point where I found this “Ollie for President” t-shirt in my stash:

Anyway, keep cutting and packing. You will eventually fill up the bag.
Here we are, almost done. I used the chains from the heavy bag stand to keep the bag upright as I stuffed the last few inches:
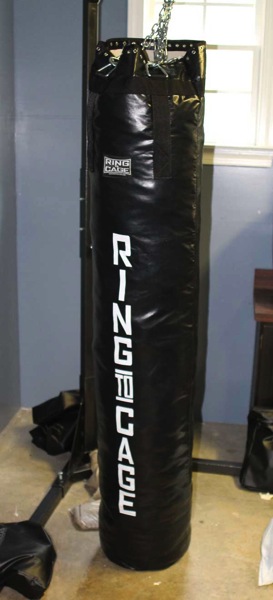
And finally, here’s the completed bag, stuffed and ready for a workout:
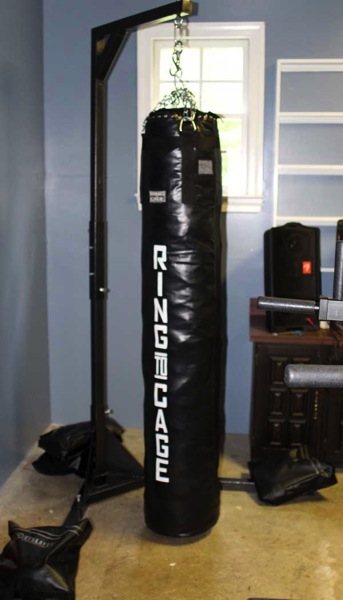
Note that once you get the bag stuffed and work out with it a bit, the material will settle, so you will likely need to add more material to the bag to keep everything packed down.
But now you have a quality heavy bag stuffed and packed with known materials, and you also now have the knowledge and experience to keep your bag in prime operating condition.
Enjoy!


