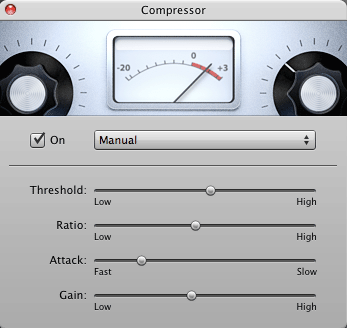
Here’s a short tutorial video on how to use the basic compressor plugin in Garageband.
I’m learning a lot these days about music production, which is actually helping me to learn to play music instruments.
Years ago, I remember trying to record myself playing an instrument—on playback, however, the audio was horrible, and it wasn’t just because of my playing!
No matter how much I futzed with the mic or how many times I redid the track to make everything perfect, the resulting recording always sounded subpar.
For me, this actually was a disincentive to learn to play the instrument, since I felt like no matter how well I played, I’d never be able to share my playing with others, because I couldn’t figure out how to even make a decent recording.
Music production was a mysterious black box, and I felt that that was just another indicator that music just wasn’t my thing.
Years later, I’m taking a different approach for learning music, and you are starting to see some of those efforts here on this blog.
One piece of that approach is learning about music production. This past week, I learned about how important compression is in making audio sound professional.
Right now I’m learning and using GarageBand as my DAW, and as I’m learning about music production I’m applying it to the tools and instruments I’m using. So, here’s a short video on how to use the basic compressor plugin in GarageBand.

