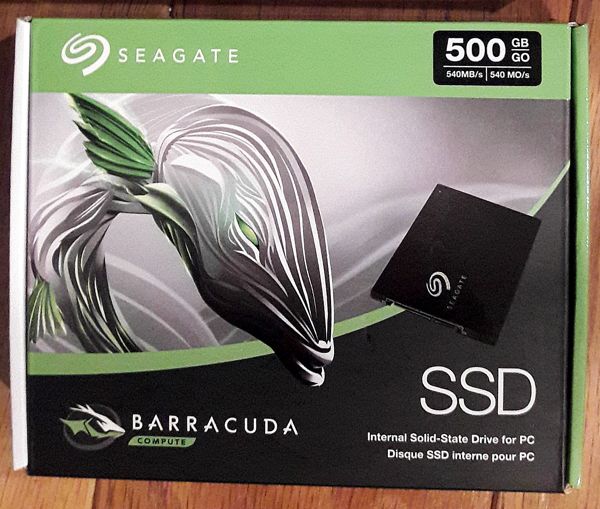
We wanted to upgrade our Synology NAS (network attached storage) to make it better for serving music and video files. We decided to add a SSD for read caching, and selected the Seagate Barracuda SSD SATA III 500GB Internal SSD Drive for this purpose. This drive has a 2.5" form factor, 500GB capacity, and max sequential read/write speeds of 540 / 520 MB/s. Because this is a 2.5” drive, we also needed an adapter, and selected the Rosewill 2.5" SSD to 3.5" SATA Hard Disk Drive HDD Adapter Caddy Tray, available on Amazon.
To prepare the Synology to install the new SSD drive:
1.) Login to DSM by browsing to the IP address of your NAS
2.) From the people dropdown on your left, select shutdown to turn off the NAS
3.) Once it has shutdown successfully, remove the power cord
4.) Push and click to pull out one of the removable caddies
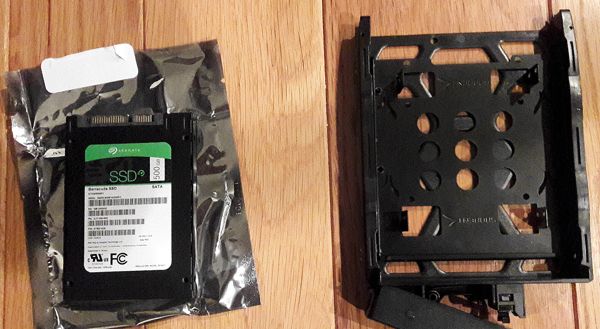
Next, the fun part, is unboxing the new SSD and the new adapter:
5.) Remove the black plastic rails from either side of the Synology caddy
6.) Use the included adapter screws to mount the SSD properly in the adapter
7.) Place the adapter into the caddy, aligning the side holes
8.) Add the black plastic rails, pressing them into the aligned holes to secure everything together
9.) Slide the caddy back into the Synology
Now that the new SSD has been mounted, it’s time to define the cache:
10.) Start your Synology by tapping the power button once
11.) Login to DSM by browsing to the IP address of your NAS
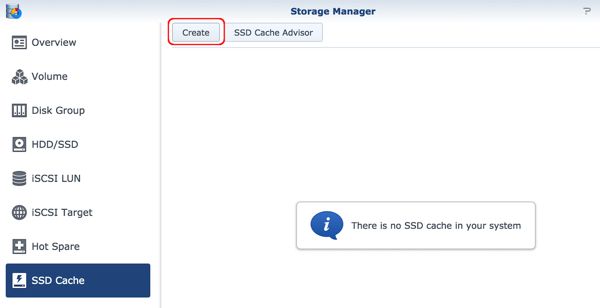
12.) Start “Storage Manager”
13.) Goto “SSD Cache”
14.) Click the Create button
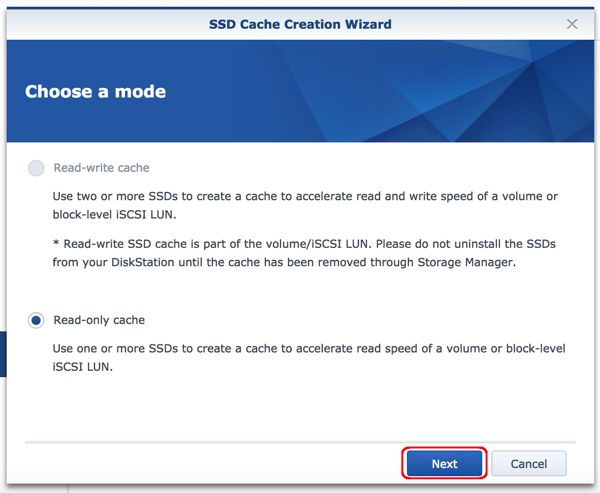
15.) Since we have only one SSD, select “read-only” and click Next
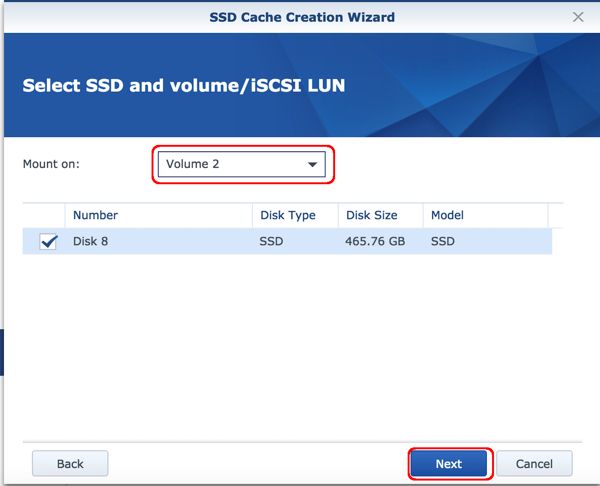
16.) Select the volume from the dropdown (we wanted it to cache Volume2), and click Next
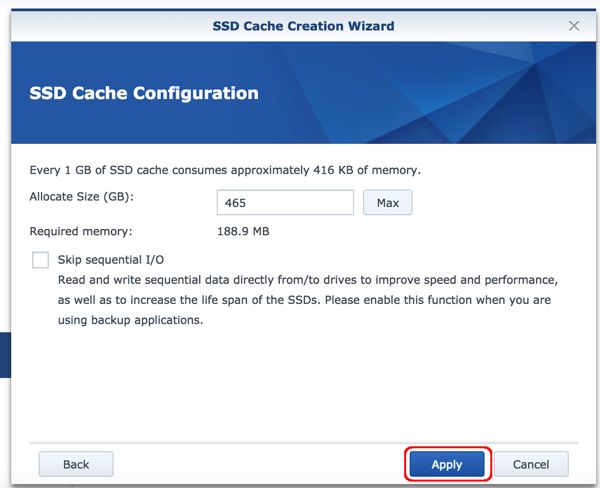
17.) Select the Max allocation size, and click Apply

18.) Acknowledge “I understand….”, and click OK
Now, the cache is setup and files that are pulled from Volume2 will get the benefit of a read cache. Note that there is no particular benefit to adding cache to a Time Machine or other backup drive. But, there is a definite benefit to setting up read cache for a media server, especially if you tend to select the same songs and videos repeatedly.
All in all, the Seagate Barracuda SSD SATA III 500GB Internal SSD Drive is a very fast, very small, and very light internal SSD drive that worked great for us as part of a media server.
- Pricing and Availability on Amazon: Seagate Barracuda SSD SATA III 500GB Internal SSD Drive
NOTE: I am an independent product reviewer–if I don’t like the product I say so, and if I do like the product I say so. If you end up purchasing something from a link on my site, I may receive, at no additional cost to you, a small commission. Thank you for your support!